Blog › November 22, 2026 · 5 min read
How can a patched wall area be painted to match the existing texture?
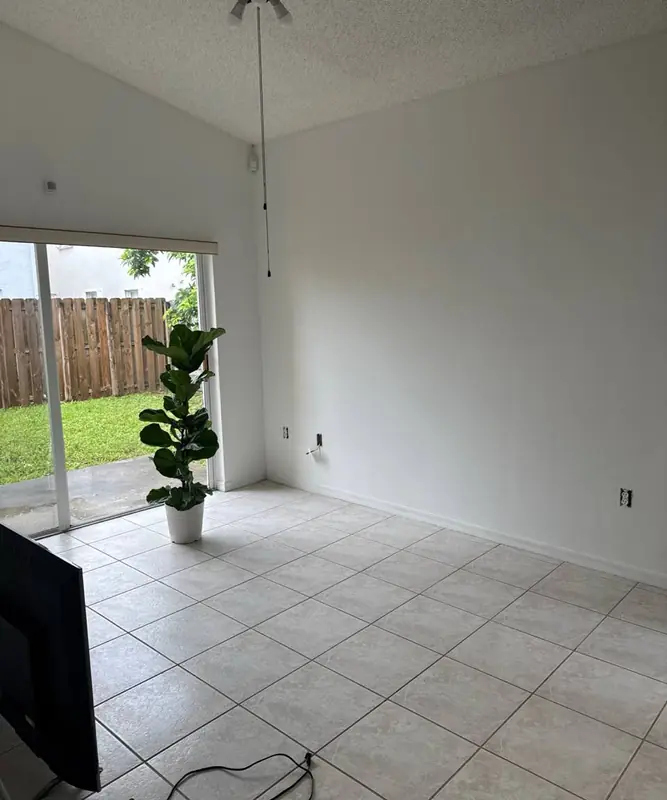
A patched area only disappears when three things line up: the texture profile, the paint sheen, and the way light rakes across the wall. Matching texture is mostly about identifying what's already there — orange peel, knockdown, skip trowel, smooth drywall — then rebuilding that profile with the right joint compound and the right tool before you ever open a paint can. Paint alone will not hide a texture mismatch; it amplifies it.
Key takeaways
- Identify the texture profile under raking light before applying any compound.
- Feather compound and texture past the patch edge so there is no hard transition line.
- Prime the patch so paint absorbs evenly and the sheen matches the surrounding wall.
- Match sheen as carefully as color, and blend the topcoat with a wet edge.
- Large patches usually need a full-wall repaint; small ones can be spot-blended.
Identify the existing texture before you touch the patch
Texture is a physical profile, not a color. Before any mud goes on, look at the wall under raking light — hold a flashlight almost parallel to the surface. Orange peel shows as a fine, stippled pattern like the skin of a citrus fruit. Knockdown looks like flattened islands with soft edges. Skip trowel is a series of broad, dragged ridges. Smooth drywall has no profile at all, and that is the hardest to match because any ridge or pinhole shows.
Take a photo of the texture with your phone held close and lit from the side, and keep a scrap of the old surface if a chunk comes loose. That reference is what you match against while the compound is still wet. If the patch sits next to a corner or a doorway, note how the texture runs into the trim — texture often thins or stops at a casing, and you want to copy that behavior, not fight it.
This is the step we start with on every texture job: we ask the customer to clarify exactly what area needs to be painted, then request pictures of the area so we can read the surface and the existing texture before quoting anything. A photo taken at an angle tells us more than a straight-on shot.
- Rake a flashlight across the wall to reveal the profile
- Photograph the texture close-up with side lighting
- Note where texture meets trim, corners, and outlets
- Save a loose chip of the old surface as a reference
Rebuild the texture with the right compound and tool
Feather the patch flat first. A patch that is proud of the wall by even a fraction will cast a shadow no paint can hide. Use lightweight joint compound in thin coats, let each one dry fully, and sand between coats with a sanding sponge rather than paper — a sponge follows the contour instead of gouging it. For a small patch, a scrap of drywall screwed into the hole and taped at the seams gives you a stable base; compound alone over a deep hole will shrink and crack.
Then match the profile. Orange peel is usually sprayed, but you can approximate it by thinning compound slightly and stippling with a damp sponge or a texture roller, then knocking the peaks down lightly with a trowel once they set. Knockdown is applied thicker, allowed to firm up, and dragged flat with a trowel held at a shallow angle. Skip trowel is a loaded trowel dragged in short arcs. The trick in all three is to work outward past the patch edge so the new texture blends into the old instead of stopping at a hard line.
Practice on a scrap of drywall first. Compound consistency, tool angle, and how long you wait before knocking down are the variables that decide whether the match reads as seamless or as a repair. South Florida's humidity slows drying and changes how compound sets, so give each coat more time than the label suggests and avoid running a fan directly on wet mud, which can skin the surface and trap moisture underneath.
Prime the patch so the paint behaves the same everywhere
New compound is thirsty. If you paint directly over it, the first coat soaks in unevenly and dries to a different sheen than the surrounding wall — the patch shows as a dull or blotchy rectangle even when the texture is perfect. Seal the patch with a drywall primer, and feather the primer past the repair so it overlaps the existing paint. A primer that is close in tone to the finish coat reduces the number of color coats you need to blend.
If the existing wall is glossy, scuff it lightly with a fine abrasive and wipe the dust off before priming. Paint does not grip gloss well, and a patch that fails at the edges will peel back and take the texture with it. On walls near a bathroom or kitchen, use a primer rated for high humidity; South Florida interiors swing between air-conditioned dry and steamy, and a patch that absorbs moisture differently from the rest of the wall will telegraph through the topcoat.
Match the paint — color, sheen, and batch
Color is only part of the match. Sheen matters just as much, because a flat patch on an eggshell wall catches light differently and reads as a dull spot from across the room. If you do not know the original sheen, test a small area and compare it under the same lighting. The same paint code in a different sheen will not blend.
Fresh paint also cures to a slightly different tone than paint that has been on the wall for a while, even from the same can. That is why blending matters more than a perfect color match: roll the new coat past the patch and feather it out, keeping a wet edge so you do not leave lap marks. On a large wall, painting corner to corner is often the only way to make the repair invisible, because a stop line in the middle of a wall will show no matter how good the color match is.
We ask customers whether they already have the paint needed for the touch-up, and we ask them to specify the exact colors they want so the patched area blends in. Leftover paint from the original job is the best starting point; if it has been sitting in a garage through a Miami summer, stir it well and check for separation before trusting it.
- Confirm the sheen, not just the color code
- Feather the new coat past the patch with a wet edge
- Paint corner to corner on large or brightly lit walls
- Stir stored paint thoroughly and check for separation
Plan the work around size, schedule, and who does what
The size of the area drives the method. A patch the size of a hand can be spot-textured and blended with a small roller. A repair that spans a doorway or a long wall usually means re-texturing a larger section and repainting the whole wall, because blending a small patch into a large field under raking light rarely holds up. We ask how large the area is that needs painting so the work is planned properly rather than discovered halfway through.
Timing matters too. Compound needs to dry between coats, primer needs to cure, and paint needs its recoat window — rushing any of those steps is how patches fail. We confirm the desired completion timeframe with the customer before scheduling, and we arrange for an estimator to visit the property and assess the area in person. For painting, that on-site estimate is free from Miami to Fort Lauderdale, and painting carries a five-year transferable warranty.
If the repair turns out to involve more than texture and paint — water damage behind the drywall, a failing shower pan, tile that has to come out — that work runs through our GC partner, who holds the contractor's license. We would rather tell you that at the estimate than after the wall is open.
What to check before you call it done
Judge the repair with the room lit the way it normally is, and again with a lamp held low against the wall. Raking light is unforgiving and it is exactly how a guest will see the wall when they walk past a window at dusk. Run your hand across the transition; you should feel a gradual change, not a ridge. Look for pinholes and sanding scratches, which fill with paint and show as tiny dark specks.
Check the edges where the new texture meets the old, and the corners where it meets trim. Those are the places a match fails first. If the patch is in a bathroom or near a shower, give the paint its full cure time before exposing it to steam. And keep a labeled note of the color, sheen, and product you used — the next repair on that wall will be easier because of it.
If you would rather hand the whole thing off, Gold Hands Miami paints across Miami-Dade and Broward, is insured and bonded, and works in English and Spanish. Labor is $100/hr with a two-hour minimum, and you can book online at /book with a $50* deposit. Call (786) 788-8714 to talk through the patch, or see the painting page at /painting for what an on-site estimate covers.
* Minimum visit $200 — smaller jobs can be combined into one visit.
Frequently Asked Questions
Can I just paint over a patch without matching the texture?
You can, but the patch will show. Paint is a thin film and it follows whatever profile is underneath, so a smooth patch on a textured wall reads as a flat spot under any side light. Matching the texture first is what makes the paint disappear.
What if I do not know the original paint color or sheen?
Cut a small sample of the painted drywall from an inconspicuous spot, or bring a chip to a paint store for a color match. For sheen, test a small area and compare it under the room's normal lighting. If neither is reliable, painting the whole wall corner to corner is the surest way to blend.
Why does my patch look different even though the color matches?
Usually it is sheen or primer. Unprimed compound absorbs paint unevenly and dries duller than the surrounding wall. A drywall primer feathered past the patch, plus the correct sheen, fixes most of these cases.
Does South Florida humidity affect texture and paint drying?
Yes. High humidity slows the set of joint compound and extends paint recoat times. Give each coat more time than the label suggests, avoid blowing a fan directly on wet compound, and use a humidity-rated primer in bathrooms and kitchens.
When does a patch need a pro instead of a DIY touch-up?
When the repair is large, when the texture runs into trim or corners, or when there is water damage behind the drywall. Large areas usually need re-texturing and a full-wall repaint to blend.
Do you charge for a painting estimate?
Painting estimates are free on-site from Miami to Fort Lauderdale. Other jobs are estimated by phone or from photos. Labor is $100/hr with a two-hour minimum, and booking online at /book requires a $50* deposit.
* Minimum visit $200 — smaller jobs can be combined into one visit.
Related guides
- What materials and styles are available for an accent wall?
- What type of primer works best before painting kitchen cabinets?
- What painting supplies should a homeowner have on hand before a paint job?
Have a project like this?
Miami-Dade & Broward, English & Spanish — insured and bonded. Painting gets a free on-site estimate (Miami to Fort Lauderdale); other jobs are estimated by phone or from photos. Related: painting.
Call (786) 788-8714 Book online ($50* deposit)